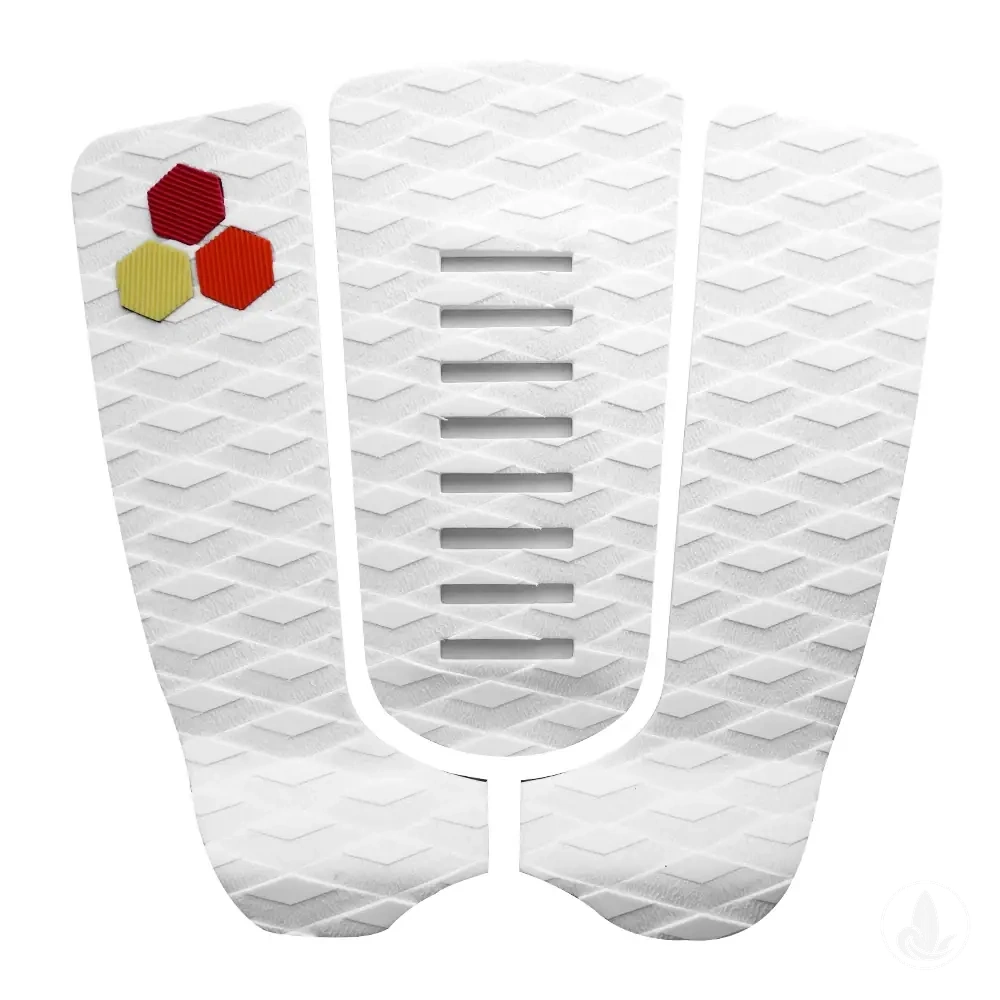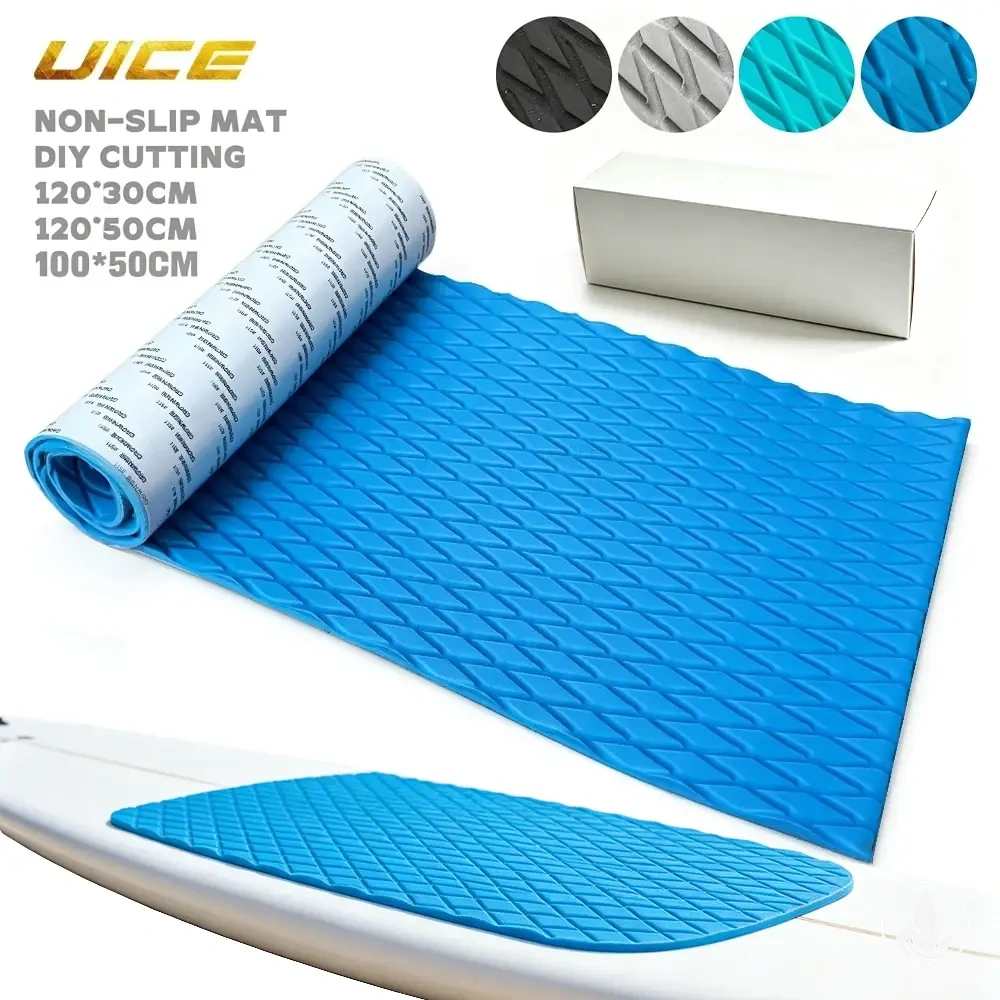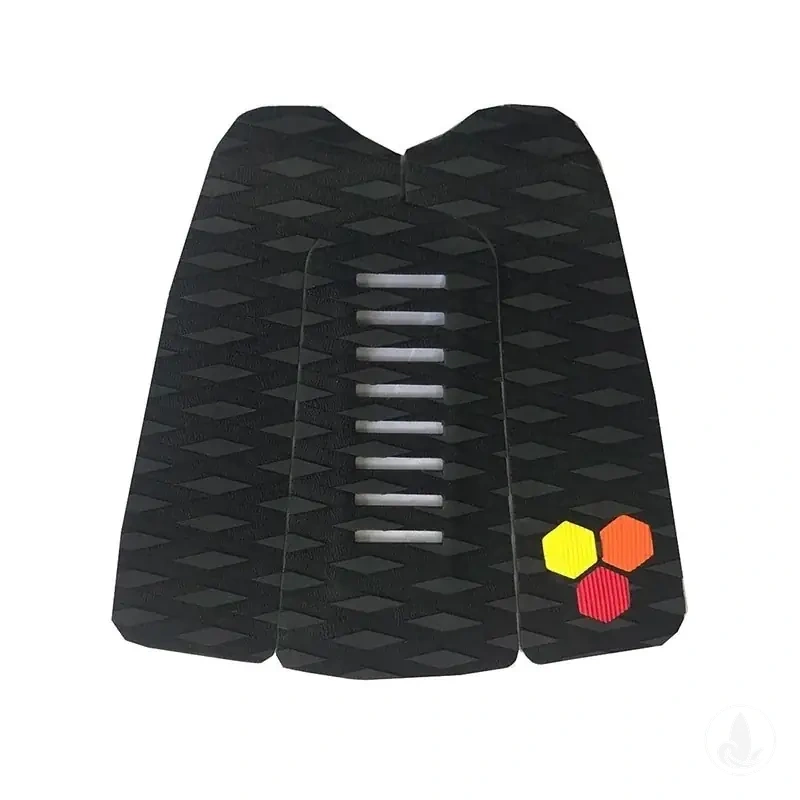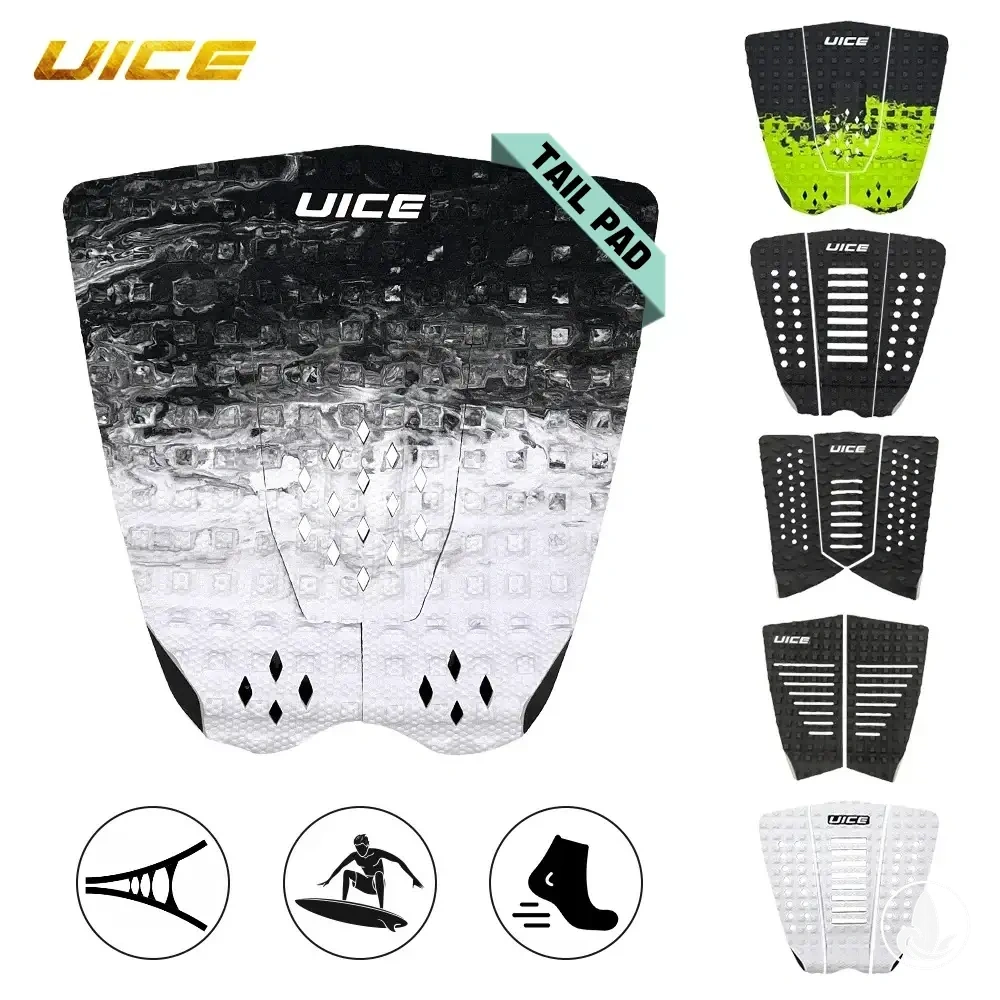
Check: tail width, tail outline, usable rear-foot area and pad dimensions.
Choose: a fixed one-piece outline when it already fits; use a segmented layout when adjustable spacing better follows the tail.
Choose a surfboard traction pad by matching the pad footprint to the board’s usable tail area first, then choose texture, arch and kick for the rear-foot grip and feedback you prefer. A multi-piece pad offers more spacing flexibility, while a one-piece pad keeps a fixed footprint; neither is universally better. Before bonding, dry-fit the pad so the rear-foot zone, fin cluster and leash plug all work together, then follow the pad manufacturer’s adhesive and cure instructions.
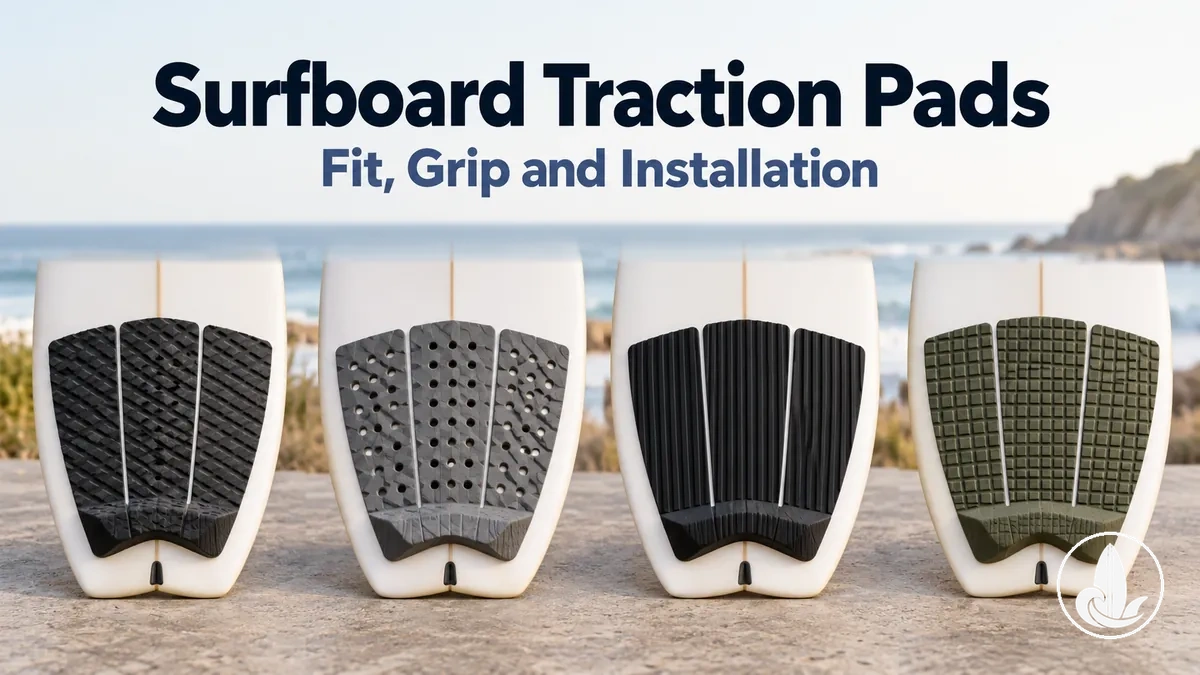
Traction pad fit-and-feel decision guide
Use the criteria in this order. Confirm fit before optimising grip feel, because texture, arch and kick cannot compensate for a pad footprint that does not suit the tail.
Check: tail width, tail outline, usable rear-foot area and pad dimensions.
Choose: a fixed one-piece outline when it already fits; use a segmented layout when adjustable spacing better follows the tail.
Check: where the rear foot actually lands and how much positional feedback you want.
Choose: a raised arch for a clearer centre reference when the foot contacts it; a flatter centre for less raised contact.
Check: preferred surface texture and how strongly you use the pad’s rear boundary.
Choose: more pronounced texture or kick for more noticeable tactile feedback; subtler profiles for a less pronounced feel.
Check: centreline alignment, relationship to the fin cluster, rear-foot coverage and leash-plug clearance.
Install: remove the backing only after the full layout is confirmed, then follow product-specific bonding and cure instructions.
Decision rule: reject a pad that cannot fit within the usable tail surface or clear the board’s hardware. Among the pads that fit, choose the texture, arch and kick that match your preferred rear-foot contact and feedback.
The sections below explain what each feature changes, how to verify tail fit, and how to place and bond the pad without relying on a universal measurement.
A surfboard traction pad adds grip beneath the rear foot and provides tactile reference points that help the rider sense foot position at the tail.
Its textured surface provides a non-slip contact area, while raised features such as an arch or kick give the foot physical cues about its position on the pad.
ROAM describes rougher pad textures as providing more grip and a higher arch as creating more contact beneath the foot.
Together, the surface texture, raised features, and rear-foot contact provide grip and positional feedback.

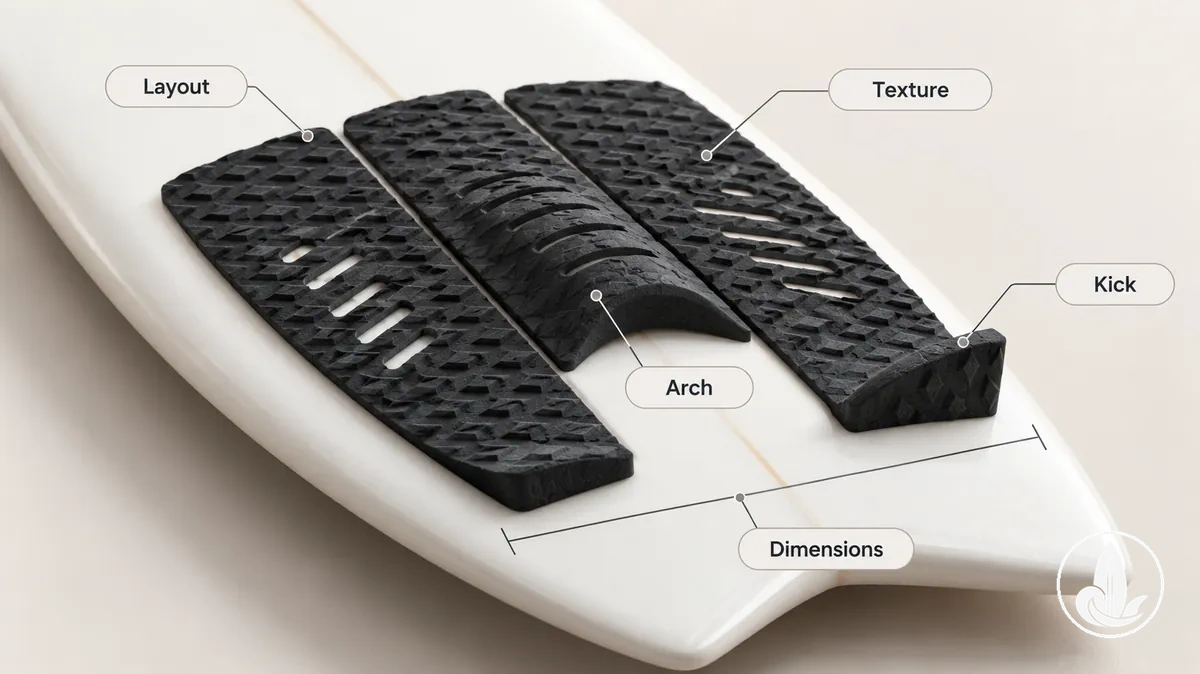
Compare a surfboard traction pad by its layout, texture, arch, kick, and dimensions because no single feature determines suitability by itself.
Layout and dimensions primarily affect how the pad can match the tail shape and usable rear-foot area, while texture, arch, and kick affect grip and tactile feel beneath the rear foot.
The useful choice is the combination that fits the board and matches the rider's preferred underfoot feedback.
Compare these five criteria before choosing:
For a board with a tail shape that requires more adjustment, layout and dimensions can serve as the first fit criteria because separate pad sections provide more freedom to position the footprint around the tail.
Texture, arch, and kick can then be considered according to the rider's preferred grip, foot movement, and tactile positioning feedback rather than optimized as isolated features.
A configuration suited to one tail shape or rear-foot preference is not automatically the appropriate choice for another.
Together, these criteria help determine whether a traction pad suits the board's tail shape, the rider's rear-foot feel, and their surfing preference.
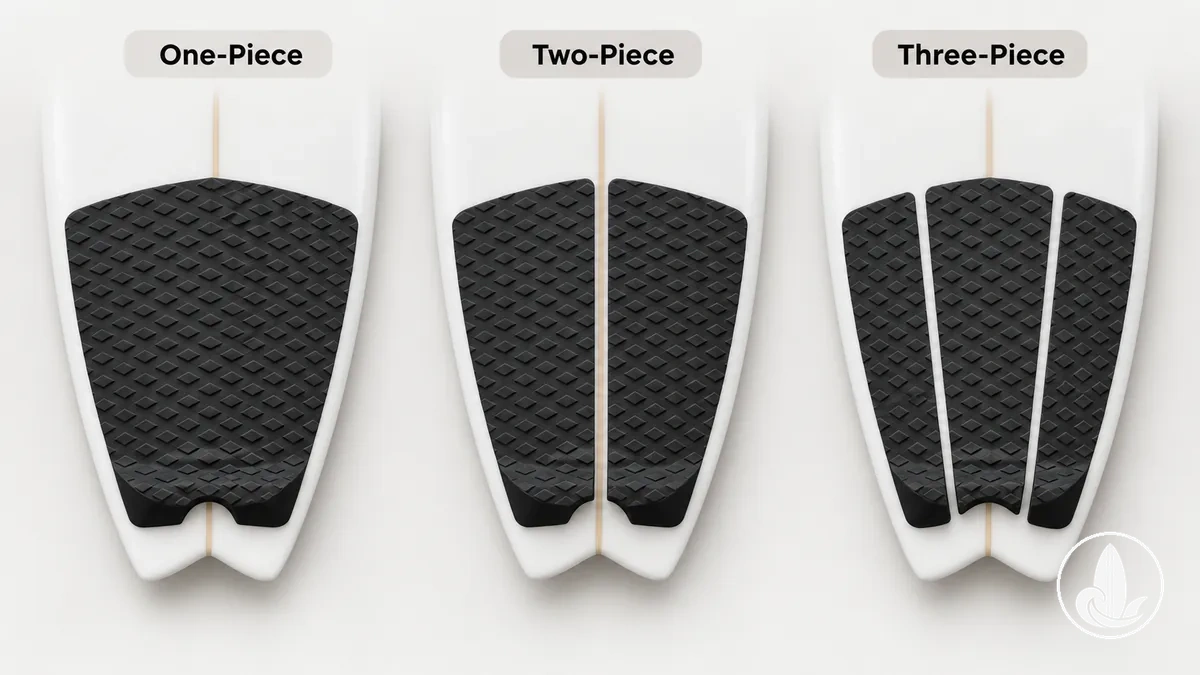
A traction pad's piece count determines how much its spacing and coverage can be adjusted to follow the surfboard's tail shape.
A one-piece pad has a fixed shape, while a two-piece pad and three-piece pad divide the coverage into separate sections that allow progressively more spacing adjustment; the practical fit still depends on whether that layout suits the tail shape.
The three layout patterns show this difference in fitting flexibility.
A traction pad's grip texture and groove pattern shape the contact surface beneath the rear foot, affecting both traction and tactile feel.
More pronounced grooves or raised texture create a more noticeable contact pattern underfoot, while a less pronounced surface pattern provides subtler tactile feedback.
The image below shows these groove and texture differences at a consistent scale so their contact surfaces can be compared directly.
A more pronounced texture is not automatically preferable because selection depends on the rider's preferred balance of traction and underfoot feel.
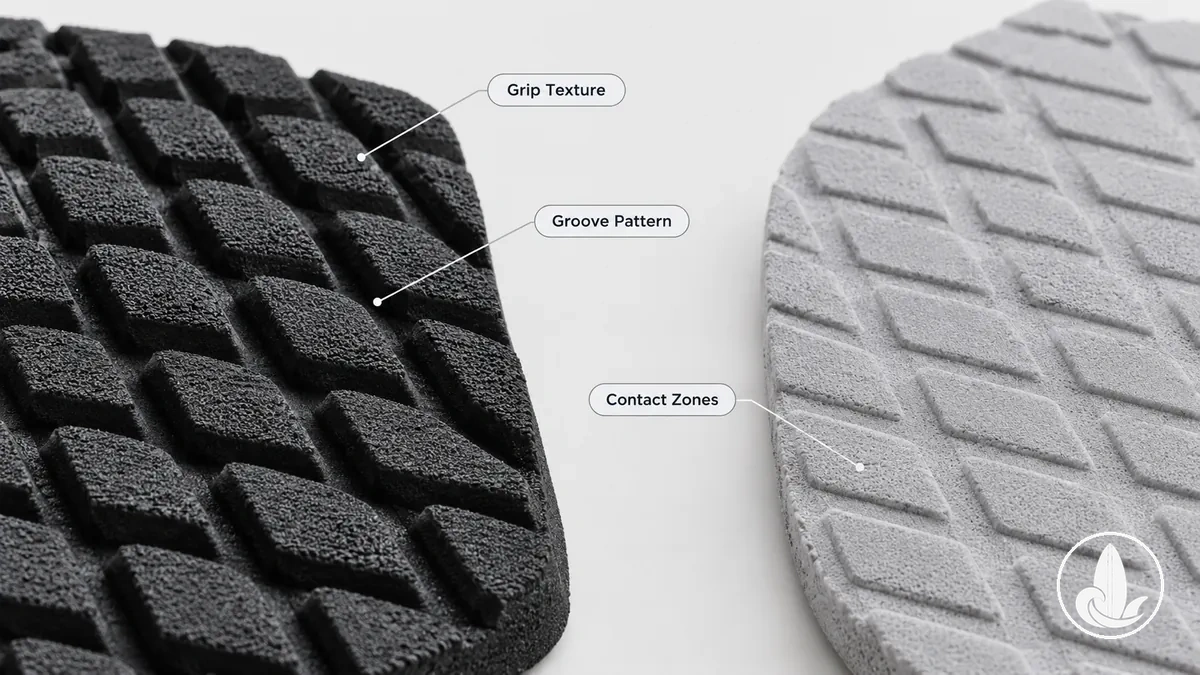
For a rider who prefers more noticeable contact and feedback beneath the rear foot, a rougher or more pronounced groove pattern can provide stronger traction and tactile feel; a smoother pattern provides less pronounced surface feedback.
No universal traction increase should be assumed from a particular groove pattern because the useful choice depends on the surface pattern and the rider's preferred rear-foot feel.
An arch profile has a raised centre arch bar that provides more noticeable underfoot support and positional feedback when the rear foot makes contact with it, while a flat profile has a lower or arch-less centre that provides a flatter feel with less centre-focused feedback.
The useful profile therefore depends on whether the rider prefers a distinct raised reference beneath the foot or less pronounced centre contact.
The comparison shows how each profile changes foot contact and feel.
| Arch Profile | Flat Profile |
|---|---|
| A raised centre arch bar creates more pronounced foot contact beneath the rear foot, providing a clearer position cue and more noticeable underfoot support when the foot engages the centre of the pad. | A lower or arch-less centre creates less pronounced raised contact beneath the rear foot, providing a flatter underfoot feel and less centre-focused positional feedback. |
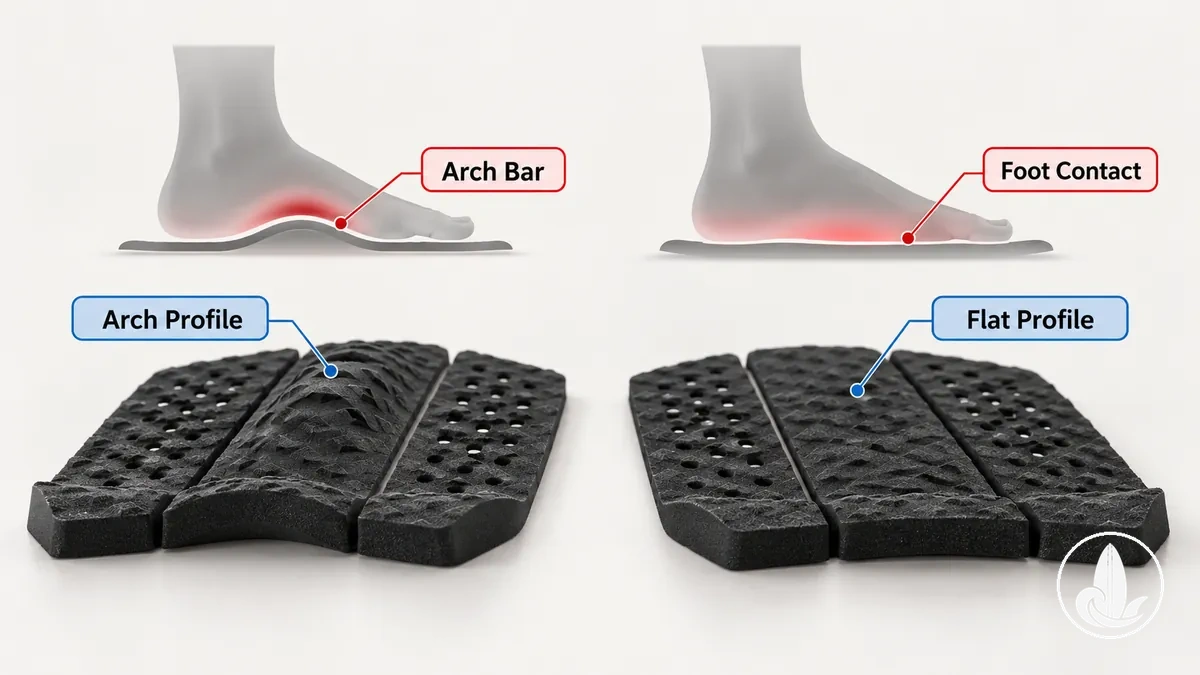
For a rider whose rear foot regularly contacts the centre of the pad, a raised arch can provide a more noticeable arch bar for support and positional feedback; a rider who prefers less raised contact may favour a flat profile.
Foot contact and preference therefore determine which profile is appropriate, and neither profile is universally superior.
The kick is the raised rear boundary of a surfboard traction pad that the rear foot can feel and press against.
Kick height determines how pronounced that rear boundary is, while kick angle determines how steeply it rises from the pad surface.
A lower or shallower kick creates a less pronounced rear-foot reference, whereas a taller or steeper kick creates a more prominent physical stop when the rear foot moves back and applies pressure.
The image shows kick height and angle as physical geometry rather than a performance score, illustrating how the geometry changes rear-foot feedback.
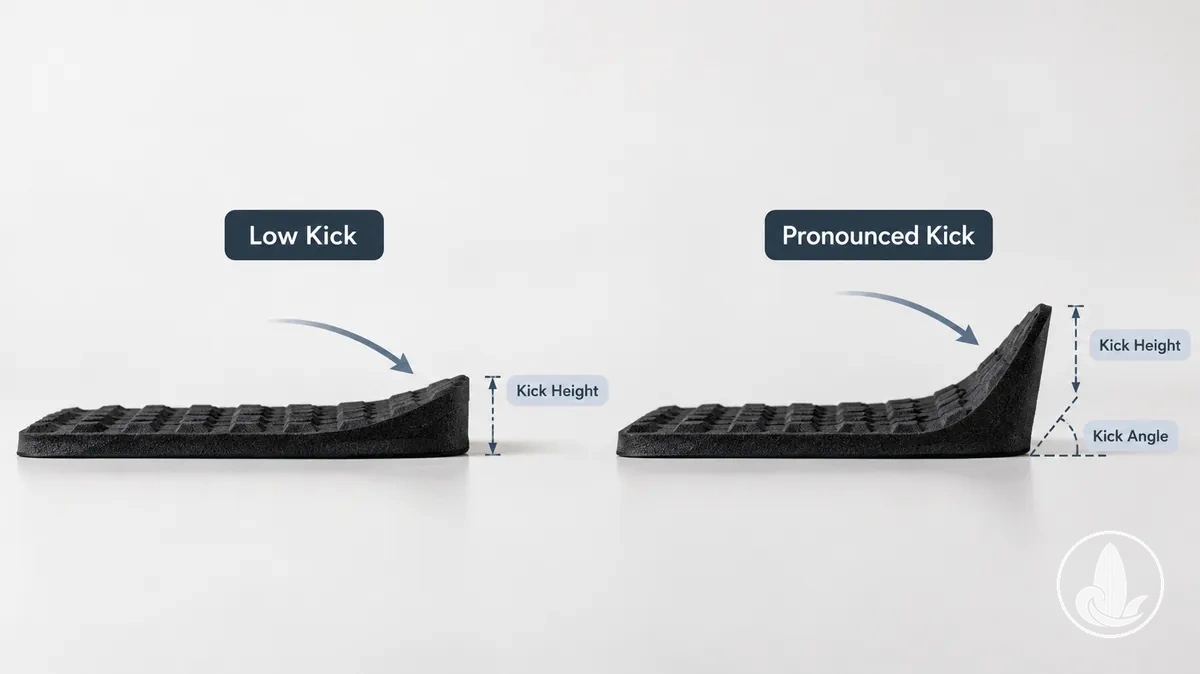
For a rider who presses the rear foot toward the raised rear during turns, a more pronounced kick can provide a stronger physical boundary and a more noticeable lock-in feel, while a lower kick provides a less prominent stop and subtler feedback.
Selection therefore depends on rear-foot pressure, movement, surfing style, and preference rather than a fixed kick angle or an assumption that a steeper kick provides better control.
A traction pad fits when its dimensions and outline suit the surfboard’s actual tail geometry and usable rear-foot area, rather than board length alone.
Pad width should correspond to the available tail width, while the pad outline and coverage should remain within the usable tail surface.
Because tail shapes and pad dimensions vary, no single measurement should be assumed to establish fit across different boards.
Check the tail shape, tail width, rear-foot area, and pad dimensions together.
For a wider or more contoured tail, the traction pad must provide suitable coverage without forcing its outline beyond the usable tail surface.
A segmented pad provides adjustable piece spacing, which can help its footprint follow the tail shape when the individual sections can be positioned within that surface.
The useful spacing therefore depends on the actual pad dimensions and tail outline rather than a fixed gap.
Use these checks to verify whether the pad dimensions and spacing suit the surfboard tail:
An acceptable fit means the traction pad can remain within the usable tail surface, follow the tail outline, and provide coverage across the intended rear-foot area.
If the pad width exceeds the usable tail width, its outline conflicts with the tail shape, or its pieces cannot provide suitable coverage without hardware interference, that configuration is not a workable fit.
Where piece spacing is adjustable, use that adjustment only when the resulting footprint better matches the actual tail geometry and rear-foot area.
On a wider or more contoured tail, a multi-piece traction pad can be suitable when its separate sections provide enough adjustment to follow the outline and maintain the required coverage.
The final fit decision should therefore be based on the specific tail width, tail shape, pad width, outline, piece spacing, and usable rear-foot coverage of the board and pad being compared.
Use the examples below only after confirming fit. Compare each listing’s dimensions, layout, grip surface and arch/kick profile against the board and rear-foot criteria above before following the product link.
Installation order
Detailed landmark checks and deck-surface preparation belong to the narrower installation steps that follow.
Position the traction pad by using the board's fin cluster, centerline, rear-foot zone, and leash plug as placement landmarks rather than assuming one distance suits every surfboard.
The pad position should keep the usable rear-foot zone related to the fin cluster while maintaining clearance around the leash plug so the plug remains accessible.
Use these four landmarks to check the placement before exposing the adhesive:
On a board where the fin cluster or leash-plug position differs from another tail layout, the same measured offset should not be assumed to produce the same functional placement.
Centerline alignment should keep the pad centred, its relationship to the fin cluster should support the intended rear-foot zone, and leash-plug clearance should prevent the pad from obstructing access to the plug.
Confirm the final placement only when all four landmarks work together for that board's tail configuration.
Apply the traction pad only to a deck that is clean, fully dry and residue-free across the confirmed placement area.
Dirt, moisture, or residue can reduce contact between the deck and adhesive, increasing the risk of an incomplete bond.
The adhesive layer should also be intact and ready for application according to the pad manufacturer's instructions.
Use this sequence to prepare and bond the pad:
If the deck remains damp or contaminated, or the adhesive layer is damaged or contaminated, correct that condition before bonding rather than using extra bonding pressure to compensate.
Once the pad is applied, even pressure supports contact across the adhesive area, while the required cure time and conditions should come from the manufacturer's instructions for that pad or adhesive system.
Do not substitute a single cure duration for those product-specific instructions.